How to Fit Custom Car Mats Safely (and Make Sure They Stay Put)
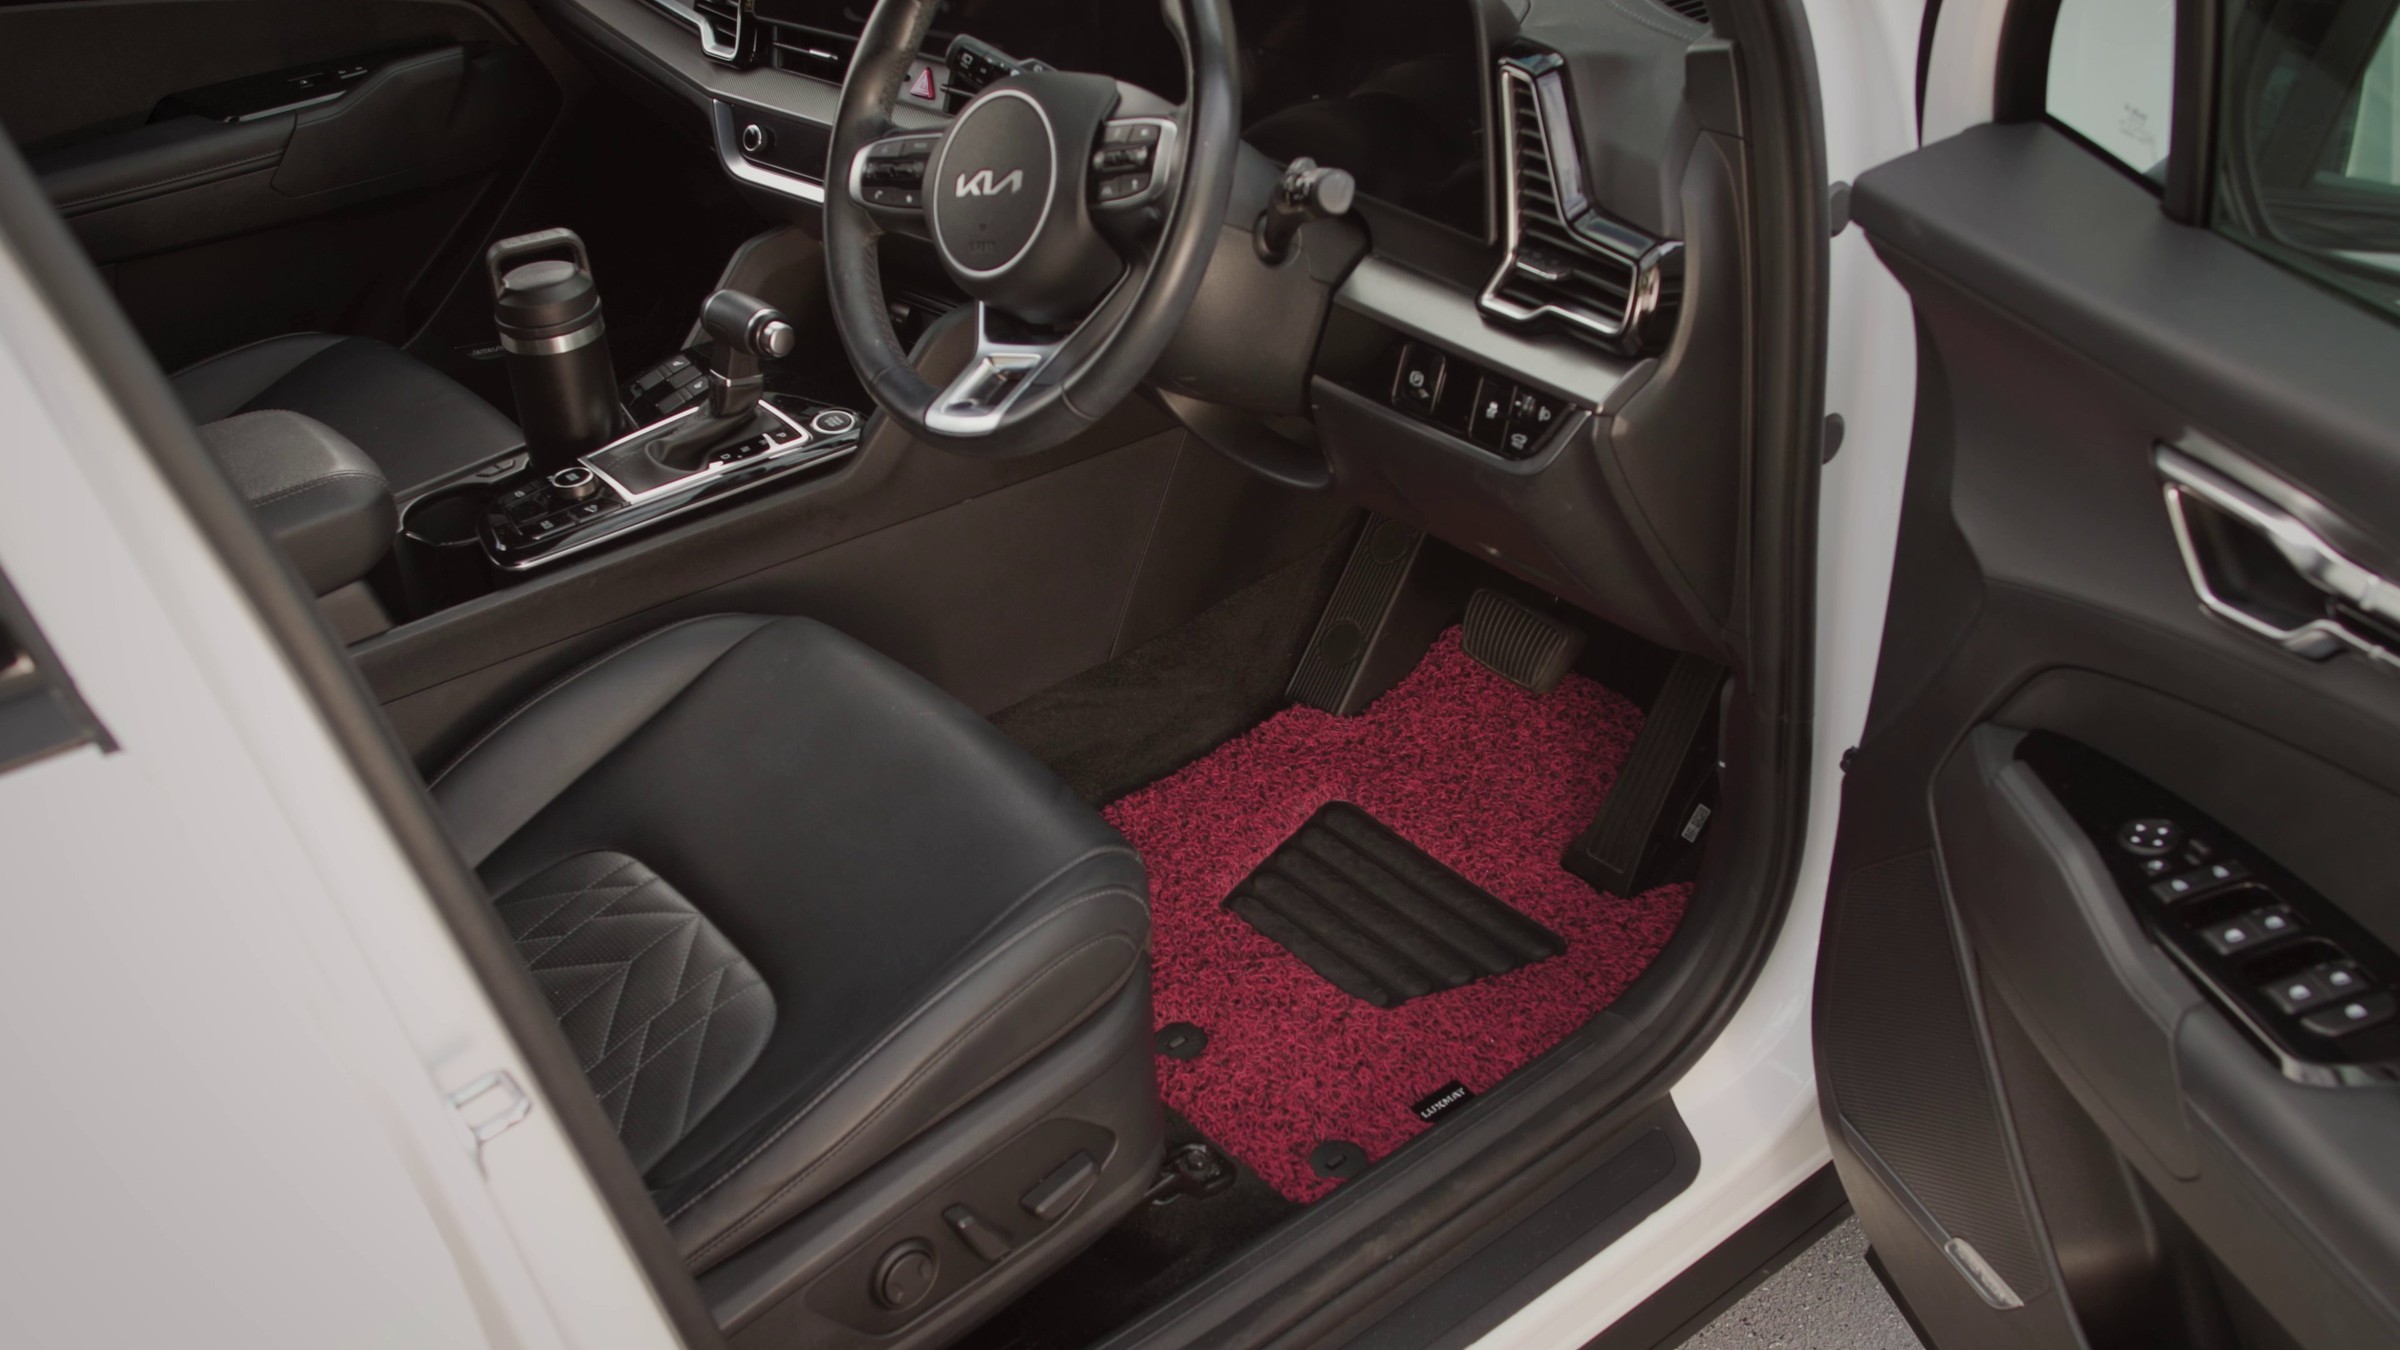
Fitting a set of custom car mats takes a couple of minutes per mat and no tools. Remove the old mats, seat the new ones on your vehicle’s factory anchor points, and check the pedals move freely. That last step is the one that matters, because a mat that slides toward the pedals is a genuine safety risk, not just an annoyance.
Here is the full routine, including the one mistake that causes most floor-mat problems.
The quick version
- Take the old mats out completely
- Seat the new driver’s mat and lock it to the factory anchor points
- Press every pedal through its full travel to check nothing catches
- Fit the passenger and rear mats the same way
How to fit your car mats, step by step
- Remove the old mats completely. Lift the existing mats right out of every footwell. This is the most important step, so do not skip it (more on why below).
- Clear and dry the footwell. A quick vacuum or wipe means the new mat sits flat on clean carpet rather than riding up on grit or a damp patch.
- Find your anchor points. Most vehicles have one or two factory floor fixings in the driver’s footwell, usually a hook, post or twist lock. These are what hold a mat in place.
- Seat the driver’s mat. Lay it in with the heel area toward the pedals, line the mat’s fixing holes up over the anchor points, and press or turn the retention locks until it sits flat. There should be no bunching or lifting at the edges.
- Check pedal clearance. Press the accelerator and brake through their full travel. The mat must not touch, ride up on, or trap any pedal. If it shifts at all, reseat it before you drive.
- Fit the passenger and rear mats. Same process. Rear mats usually seat into the footwell shape and sit against the seat base. Square them up and you are done.
The one rule that matters most: never stack mats
The single most common floor-mat mistake is laying a new mat on top of the old one. Two mats slide against each other, the top one creeps forward over time, and it can end up jamming the accelerator or blocking the brake. Unsecured and stacked mats have been behind serious vehicle safety recalls worldwide for exactly this reason.
So the rule is simple: one mat per footwell, always secured to the anchor points, never doubled up.
How custom-fit mats stay put
A mat stays where it should for two reasons: it is the right shape, and it is anchored. A set patterned from your exact make, model and year follows the whole footwell, including the side wells, so there are no loose edges to curl or creep. It then seats onto your vehicle’s own factory anchor points so it cannot slide toward the pedals.
A universal mat trimmed at home has neither of those things working for it. It is cut to an approximate shape and usually relies on nothing more than its own weight, which is how mats end up wandering around the footwell.
What to avoid
- Do not stack a new mat over the old one. One mat per footwell, every time.
- Do not fit a mat that does not reach the anchor points. If it cannot lock down, it will move.
- Do not refit over a wet footwell. Dry the carpet first, or you trap moisture underneath.
- Do not ignore a mat that shifts. If it moves when you are seating it, it will move when you are driving. Reseat it.
How to know your mats actually fit
A properly fitting set sits flat, covers the footwell out to the edges, locks to the anchor points, and leaves every pedal completely free. If a mat leaves bare carpet at the sides, slides when you nudge it, or sits proud near the pedals, it is not the right fit for that vehicle, whatever the label says.
Where LUXMAT fits
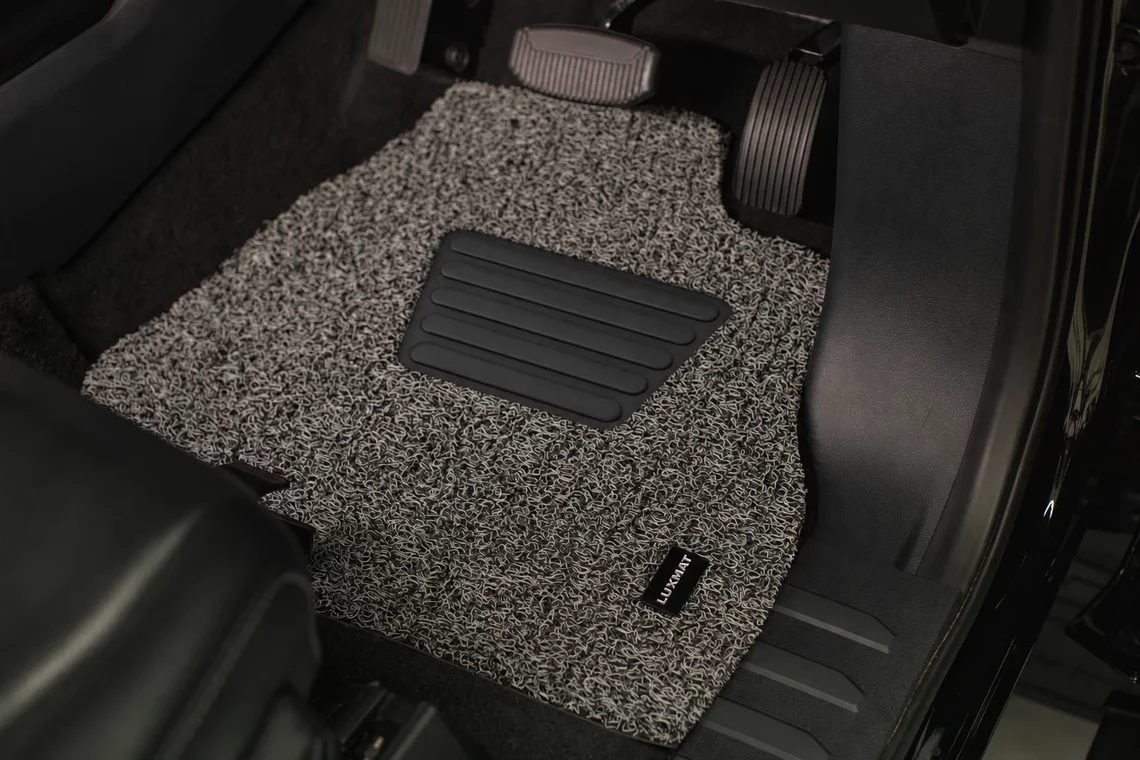
LUXMAT mats are custom-fit coil rubber, patterned from a 3D CAD scan of your exact make, model and year and made in Campbellfield, Victoria. Each set covers the full footwell, seats onto the factory anchor points, and has an anti-slip backing, so it goes in once and stays put. The coil surface then lets dirt and water fall below where you stand, so the same mats lift straight out to hose clean. Sets start from around $115, every front row set includes a driver’s side heel pad, and every set carries a 36 month warranty. Production to dispatch is typically 7 to 12 business days with $15 flat shipping Australia-wide.
To see the set made for your car, use the LUXMAT vehicle finder.
Frequently asked questions
How do you fit custom car mats?
Remove the old mats, lay the new mat in with the heel area toward the pedals, line its fixing holes up over your vehicle’s factory anchor points, and press or turn the retention locks until it sits flat. Then press every pedal through its full travel to make sure nothing catches. No tools are needed.
Why should you never put a new car mat over an old one?
Two stacked mats slide against each other, and the top mat can creep forward and jam the accelerator or block the brake. It is a known safety hazard. Always run one mat per footwell, secured to the anchor points.
Do custom car mats need clips to stay in place?
They use your vehicle’s existing factory anchor points rather than adding new hardware. A mat patterned to the exact footwell and seated on those anchors, with an anti-slip backing, stays put without sliding.
How do I stop my car mats from sliding?
Fit a mat that is shaped for your exact vehicle and lock it to the factory anchor points, and never lay it over another mat. Sliding is almost always caused by a loose universal mat or by stacking.
Can I fit custom car mats myself?
Yes. Fitting is a two-minute job per mat with no tools. Seat each mat on its anchor points, check pedal clearance, and you are set.
Related reading
Find your vehicle and shop LUXMAT
Can't find your car? Enquire here Not sure which one? Ask us